So you have a bookshelf and don’t know what to put on it or how to organize it. This happens to the best of us so I put together a guide on how to style a bookshelf! Please note, there are about 101 ways to do this so you can make it as full or minimal as you want! I personally love a mixture of busy shelves and minimal shelves.
This is a method that I use frequently and throughout my home! My method for styling a bookshelf is very similar to how to style a small room or even large room, it’s also helpful when styling a bed. When you begin to tackle designing and arranging an area of your home, you will find that you can begin to understand the other areas of your home!
Let’s Style A Bookshelf
Step 1
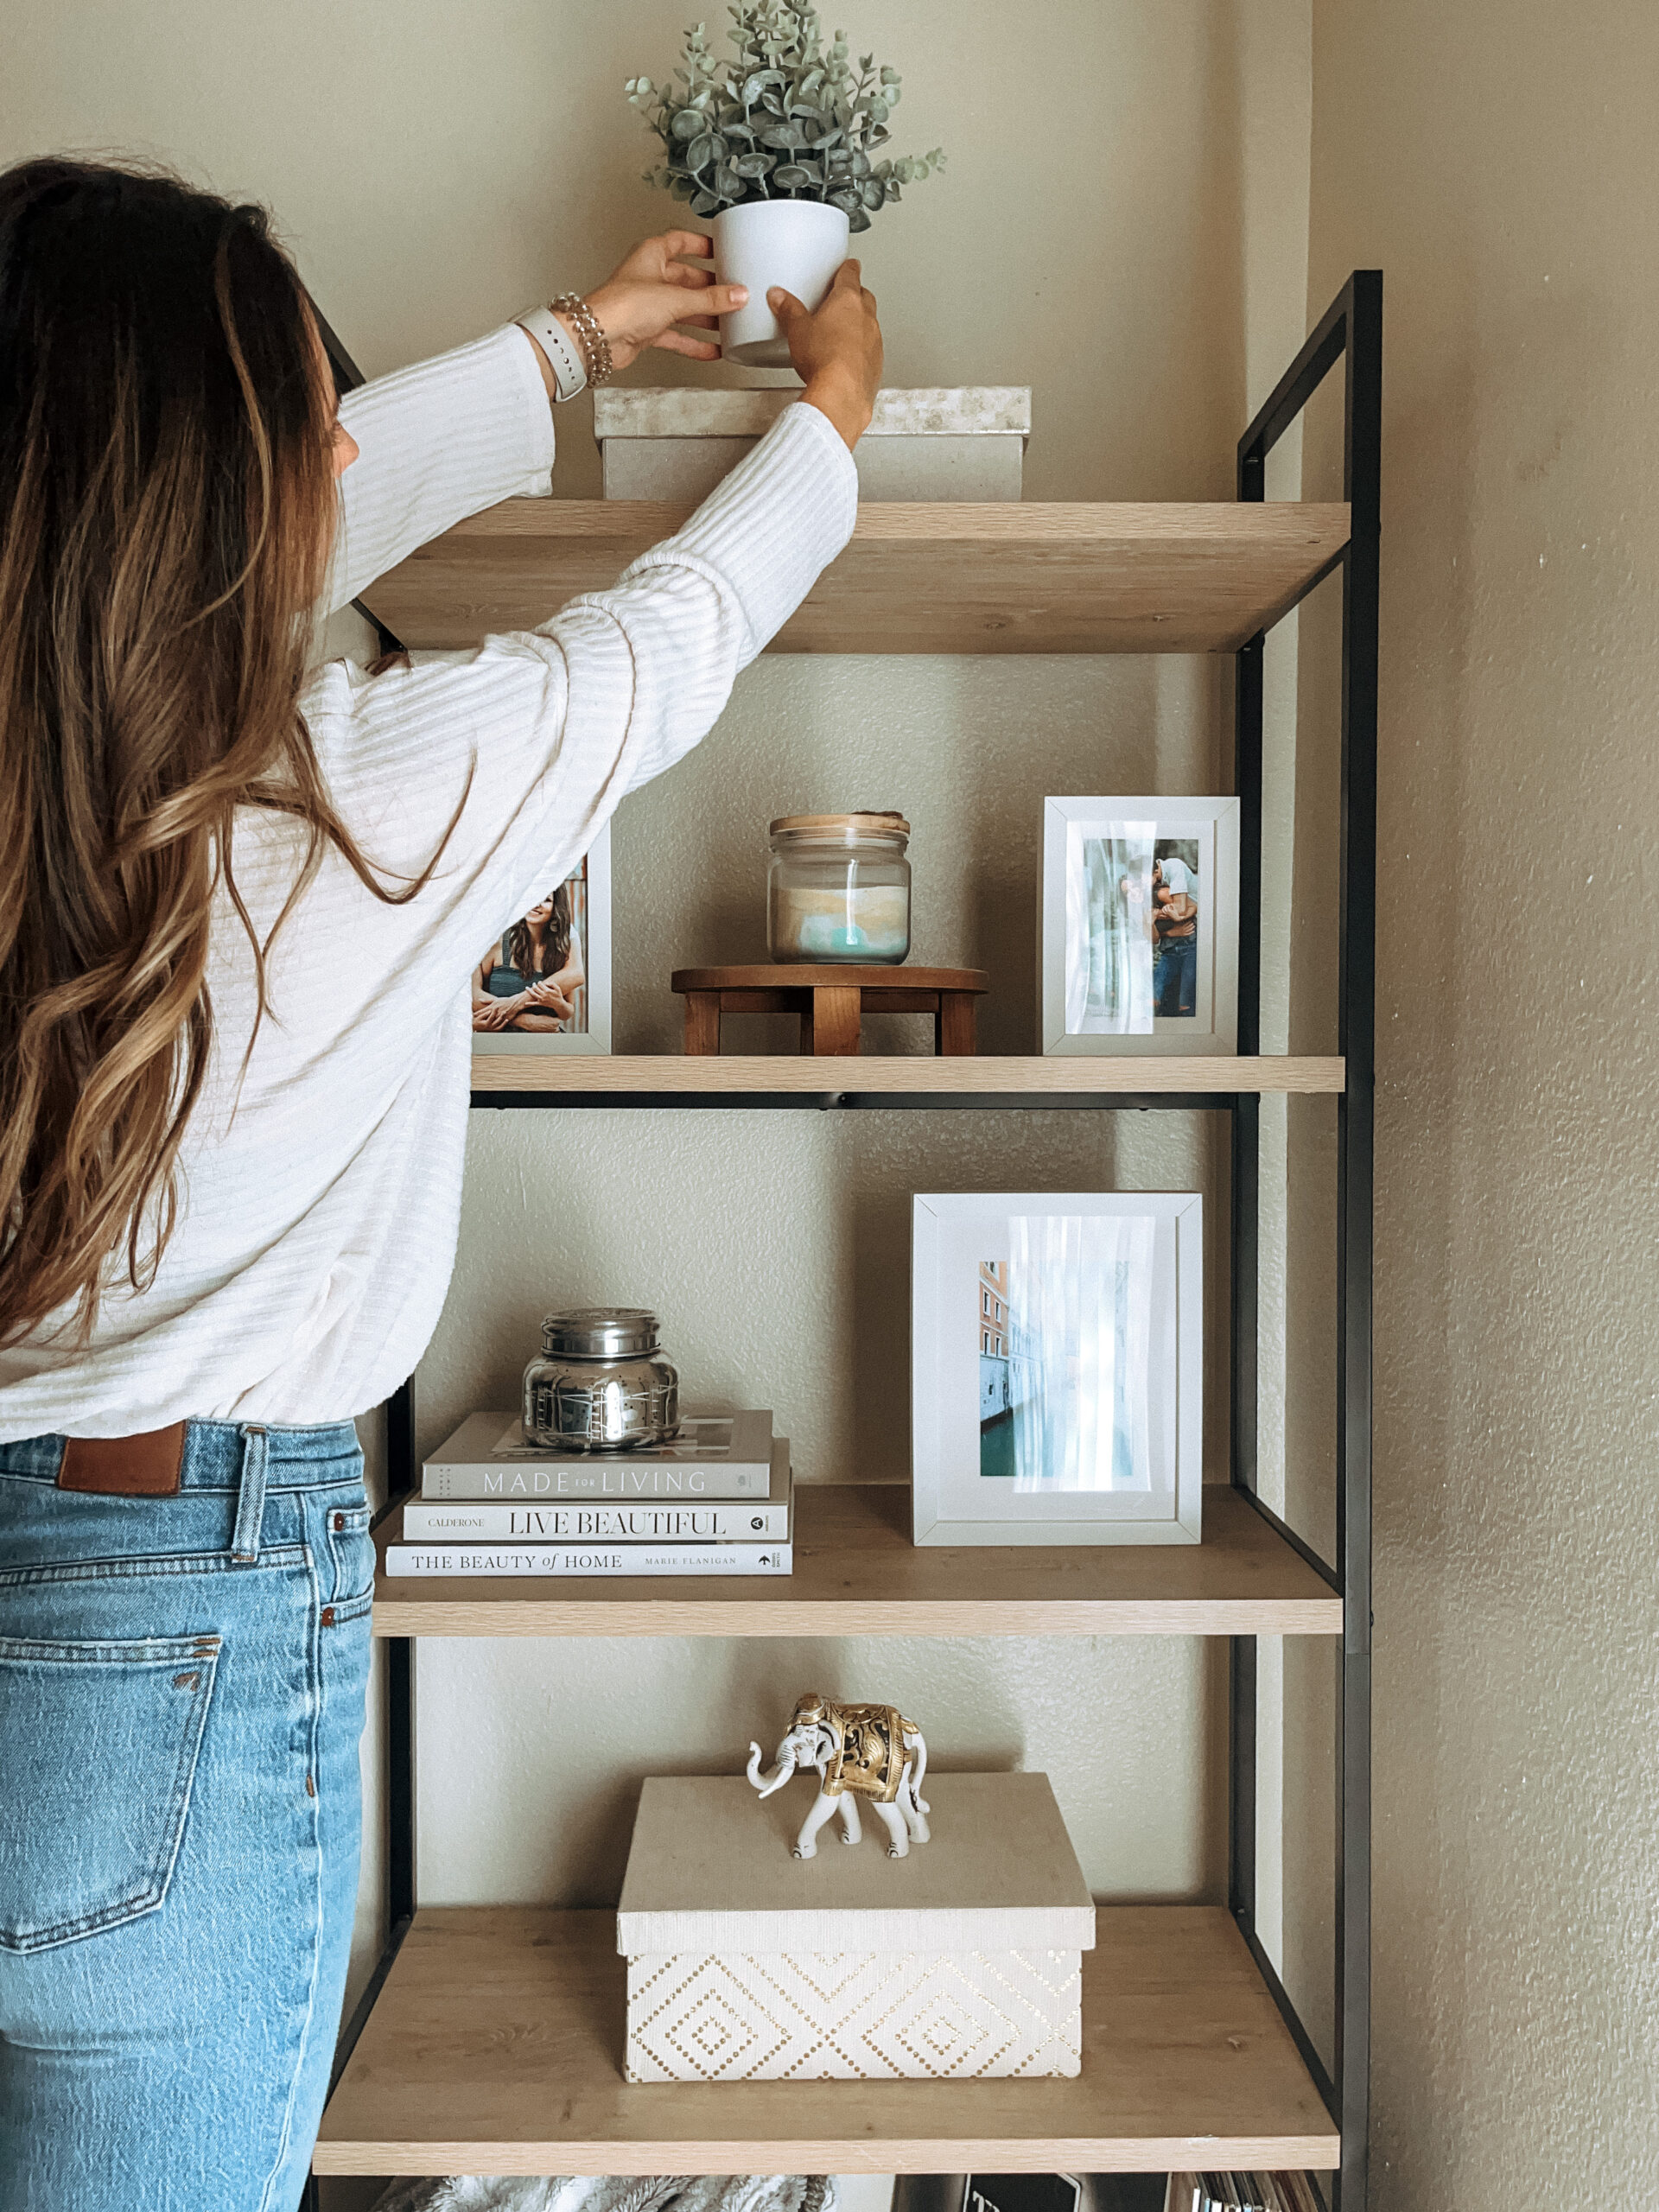
First, the best thing to do is gather all of the items that you want to put on your shelves and lay them out on the floor. This gives you the chance to see everything set out in one place. You should see items such as picture frames, large books and reading books, decorative boxes, special mementos, candles, vases, faux plants, and various decor items. This can become overwhelming but don’t freak out. The perfect thing about styling a bookshelf is it is usually a trial and error process until you find the correct combination!
I typically begin with setting the larger items such as , decorative boxes, coffee table books, or large picture frames first. I start with placing my favorite items on the shelves at eye level. This is what most people will see first so I always make sure my statement pieces go here. You want these to be your statement pieces so choose 3-6 items depending on the size and number of bookshelves you will be styling.
Decorative boxes will give a base with height for layering. When placing the coffee table books, lay them on their back so that you can clearly read the title. This lets them give height and dimension to the shelf. They will also act as a base for smaller decorative items that will come later. The large format frames can be used in two ways. First, they can stand on their own to be on display. Second, they can be placed in the back behind smaller items for a fuller and busier look.
Step 2
Once you know where you want these pieces to be, you can begin to style around them. I recommend moving to the bottom shelf next. This is where you can put your heavier pieces such as baskets, heavy and large, dark sculptures or vases. If your bottom shelf is close to the floor then don’t put anything that is breakable. If your bottom shelf is above a set of cabinets built-ins then you can put breakable items here. The bottom is the base of the bookshelf as a whole so you want it to have more weight than the other shelves.
You can use the basket for storage or decorative purposes. You can drape a decorative throw off of the side for both storage and decor. I personally use mine for both storage and decorative purposes. I store DVDs in the basket and cover them with a decorative throw to hide them. You can use the same basket and place them next to each other or use just one. If you only have one basket, make sure that whatever you place next to it doesn’t compete too much. By this, I mean make sure that the shelf isn’t over crowded.
Since my basket is larger and bulky, I placed vinyl records next to it. They are large in size but thin and lightweight in appearance so it creates a sense of balance on the shelf. You can place a large vase or sculpture next to it but pay attention to the color. If your large basket has a dark tone, make sure the vase or sculpture is lighter in color and vice versa. Again, this creates a sense of balance on the shelf.
Step 3
By now, you should have quite a few pieces set. If you love how it’s coming together then keep moving forward. If something still seems off, that’s okay. Just rearrange a few of the items already set and see if they fit better set up in a different way. Once you like how everything is set up, you can move on to the smaller items such as smaller picture frames, mementos and decorative items! Use them to fill in empty space. You can do this in many different ways.
If you have a stack of books, add a faux plant, candle or smaller picture frame on top to “complete” the stack. Fill in the empty space above the books. If the base of the shelf is empty, place a medium or large vase. If you have space for flowers you can add foliage or greenery to t bring in a pop of color. Another thing to do is add personal mementos to fill in the space. This puts them on display for you and guests to easily see.
When incorporating these smaller items, it is important to make sure that they are filling in the space well. If you want a more minimal look, you won’t need many pieces. Although, the pieces you need will have to be larger scale to fill the space. However, if you want a fuller look, then you want to make sure that the remaining pieces are easy to layer and fill the remaining space on your shelves. Play around with everything. When working with something, see what it looks like in different areas and where you like it the best. Continue this process until you have everything placed!
Step 4
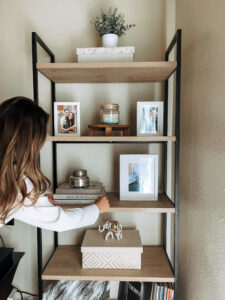
Take a step back and admire your work. If something seems off, look to see if anything else feels weird and try swapping them. You should be able to see everything and know where you want something by this point. Once you are happy with it, smile and take it in!
This is a method that is simple and can be used throughout your home! You can use it to style a smaller bedroom or a large space. You can use it for organization or even styling a bed! Remember to not let it overwhelm you. Start with the large pieces and work your way down in size. Styling and decorating can be difficult but it is not impossible. You can do this and I hope that this method is helpful! Please let me know your thoughts in the comments!