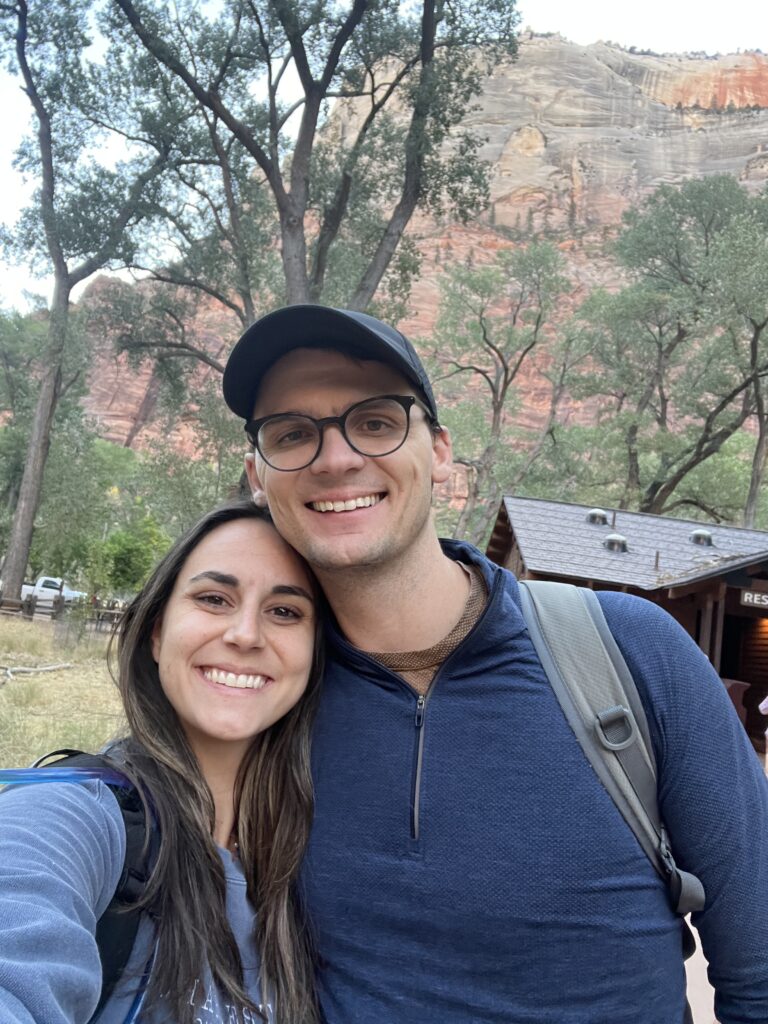
We had the opportunity to hike Angles Landing in October of 2024 and I can truly say that it was one of the most incredible experiences of my life. Hiking Angels Landing is not for the faint of heart. However, I truly believe that you do not have to be a professional hiker to do this hike.
My husband and I are amateur hikers at best. When he proposed that we hike Angels Landing, I was hesitant. When I read that it is also known as the “vertigo inducing hike” I became very skeptical! I read a little bit more about it and honestly, I was still terrified but decided to give it my best shot. It was totally worth it.
Let’s get into my experience hiking Angels Landing!
Hiking Angels Landing
Angels Landing is a hike located in Zion National Park in Utah. It is one of many hikes that you can do within the national park. It is also probably the second most popular hike just behind The Narrows. Angels Landing is a two part hike. The first section is getting up to the top of the main mountain which anyone can do on any day. The second section is the hike up and out to the section of the rock known as Angels Landing. This is the section that requires a permit. We will get to that later.
I was very hesitant about the second section. This is a hike where people seek incredible adventure and try to test their capabilities physically and mentally. Obviously, I would too! What scared me the most was the very narrow path that has a 1,500 foot drop off on either side with just a chain to hold onto. I will tell you this, looking back at it, it was terrifying. But not in the way that I thought it would be.
We got permits for the earliest time slot for hiking Angels Landing which was 9:00 am. The park opens at 7 which meant we could do the hike first thing in the morning. This was great because I didn’t have all morning to psych myself out. I was definitely nervous but doing it first thing in the morning was the best option by far!
Getting To Angels Landing
We got to the park right as it opened at 7:00 am and it was already busy! We were staying outside of the park glamping in Utah so we had an early wake up call of 5:30 am to get there on time. After paying an entrance fee and entering the park, we parked and got all of our things together. You have to take a park shuttle to the drop off spot which is free! We arrived as early as we could and still had to wait for 3 shuttles because it was so busy!
The shuttle ride there took about 10 minutes. Once we reached our stop, we went to the bathroom and took some time to get all of our belongings together. There are bathrooms at the base of the hike that are very clean! As someone who gets really bad nervous pee, this was huge haha! We began hiking Angels Landing at 8:00 am.
Hiking Angels Landing – Section 1
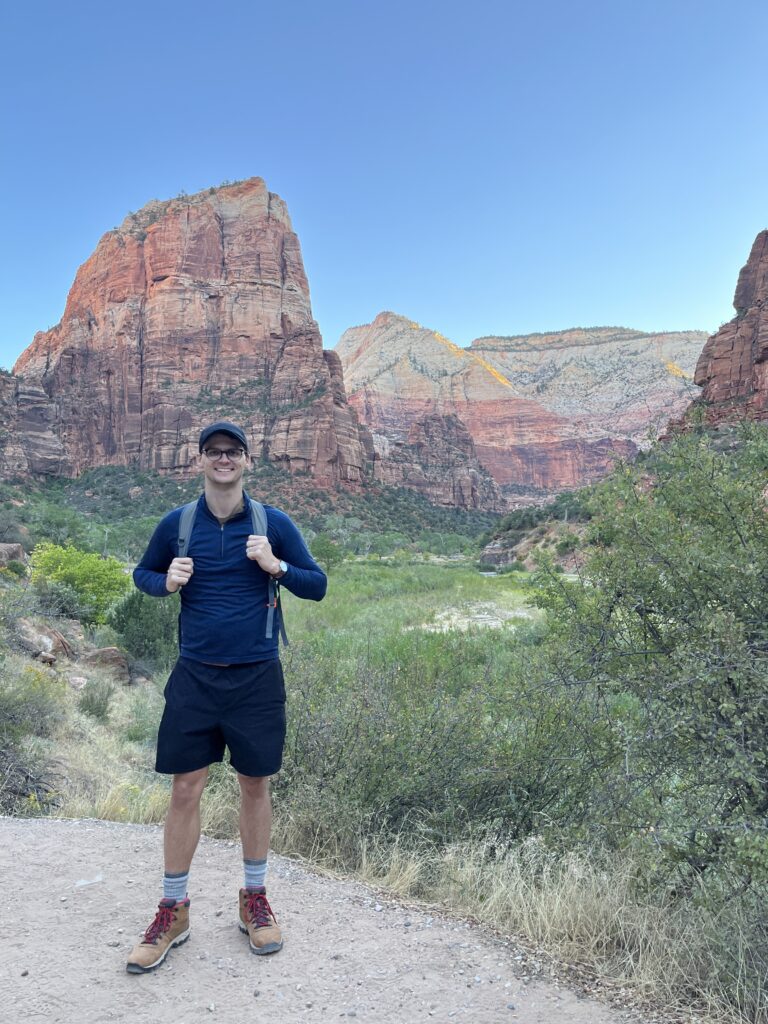
The first part of the hike was beautiful. The sun was still rising and the weather was incredible, a brisk 57 degrees. It started out pretty flat but had a gradual incline. It wasn’t too bad! Then it started to get a little steep as you ascended a paved path. Still, nothing too bad! However, about half way up the first section, the incline gets more steep and we got pretty winded. Not in a bad way but in a way that we began nervously laughing at ourselves because we had not reached the crazy part yet!
Once you get through the big inclines, you begin your way farther onto the back side of the mountain. This was fairly flat and was a nice break! Then you reach the switch backs. These will humble you very quickly!
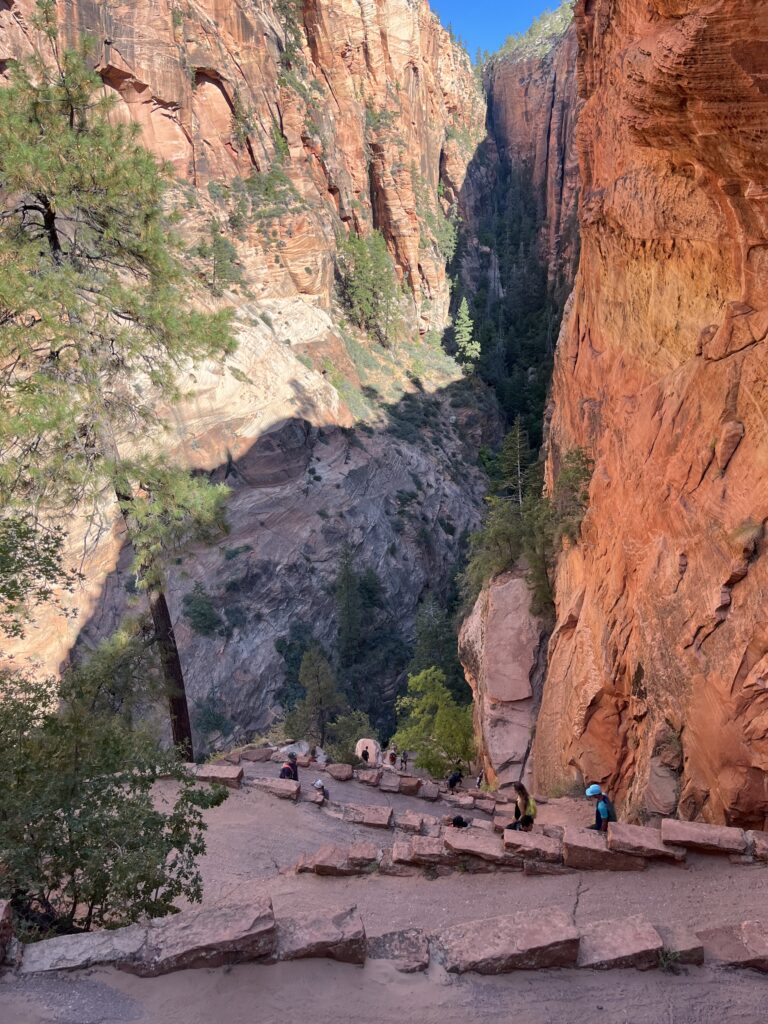
The switchbacks while hiking Angels Landing were tough, I won’t lie. But they are not impossible. There about 18 switchbacks that you ascend to get to the top of the mountain. They are small but mighty and will definitely put your glutes and hamstrings to work!
Once we made it past the switchbacks, we reached the top of the mountain and the base of Angels landing. We made it up to the top of the mountain right at 9:00 am. It took us an hour to hike the first section.This is where I got extremely nervous. I felt very sick to my stomach and was considering not going farther and hiking Angels Landing. My husband said I should eat something so I snacked on a pop tart. He said it was the smallest four bites he’s ever seen someone take of a pop tart haha! However, it worked and somehow I found the courage to move onto the second section of the hike!
P.S.
Again, this is the part that anyone can hike! You only need a permit for hiking Angels Landing which is the second part of this hike. It is still a beautiful hike and will definitely be a workout! If for some reason you don’t get permits or are on a time crunch, it can be a good hike by itself.
Hiking Angels Landing – Section 2
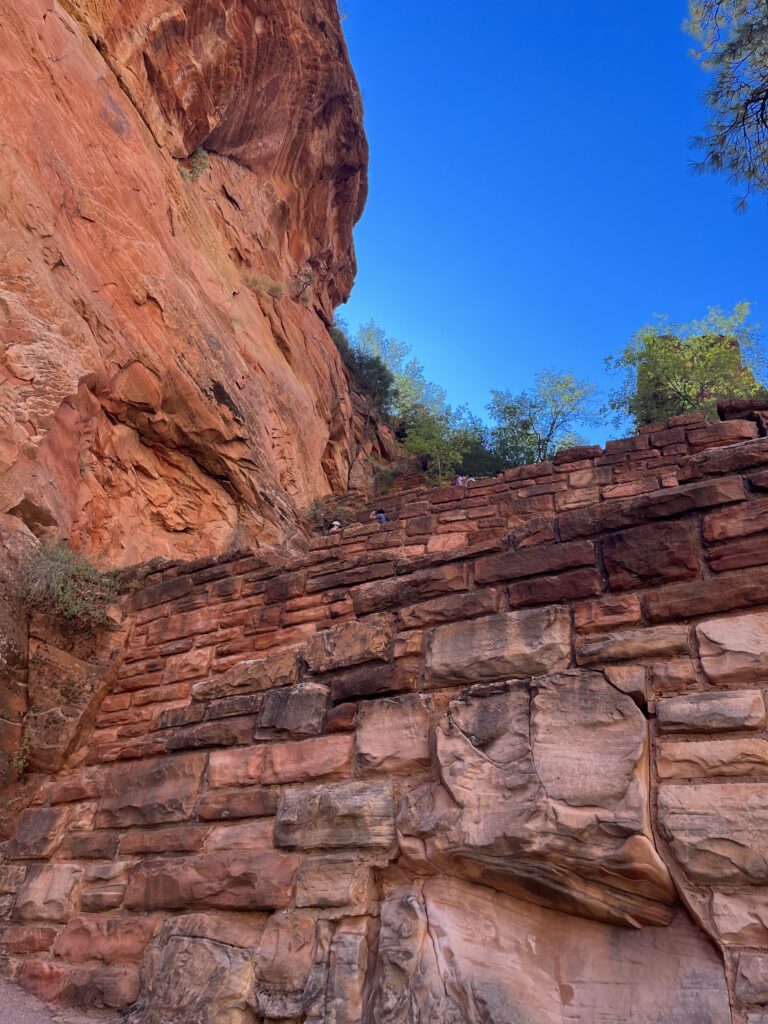
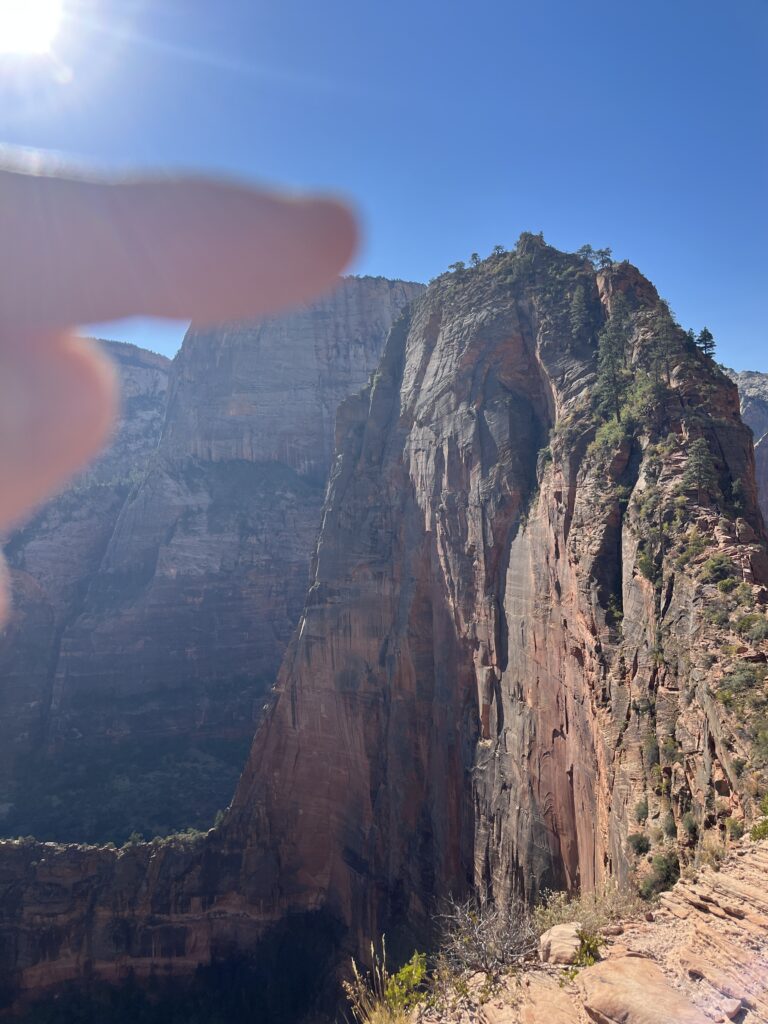
We showed the park rangers our permits and were on our way to hiking Angels Landing! I won’t lie, it started off very nerve wracking. You hike around a large piece of rock along a path to get to the next path that will lead you along the top of the rock that is Angels Landing. I will show you a picture of the path below (the photo with my figure pointing to the top).
There was a clear path that had chains to hold onto that lined the outside of the path. This was something I didn’t realize but was very thankful for! I’m not sure why but I envisioned the chains on the rock side and thought you held onto them for dear life while walking on the path. This is not the case and it is exactly what I needed to calm all of my nerves. So, if you are like me and thought that, rest assured, you are much more protected than you think!
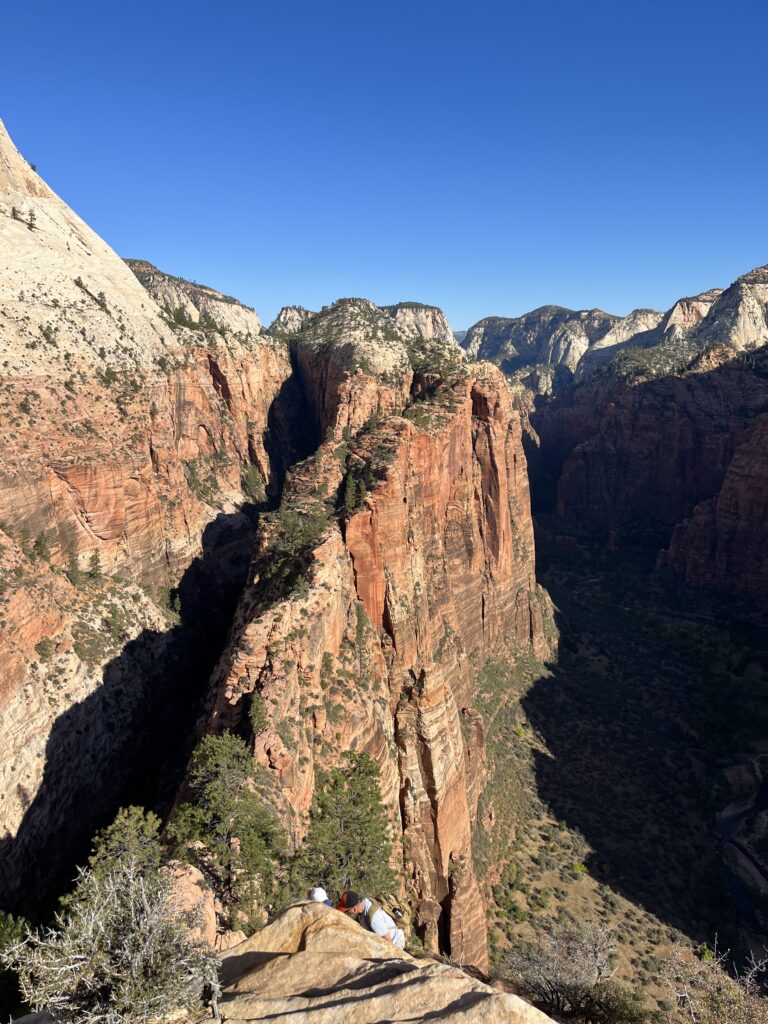
We rounded a corner and the path opened up quite a bit. The path is more on top of the mountain so it is open on both sides giving you an incredible view! There are sections that have chains to hold onto and some that do not. The sections that don’t have chains are very wide and don’t have a steep drop of on either side!
It was a nice, intense hike all the way up. However, the last 15% was so steep! It was almost like rock climbing in a way. We decided to take it slow and steady. Thankfully there were not a lot of people around that we had to stop for to let them pass. This is where going as early as possible was so helpful!
Thoughts On Section 2
The hike was intense but it wasn’t intense in a way that either of us had to stop and gather ourselves. It was more intense from a mental perspective. I didn’t look over the edge much to protect myself from getting more fear than I had. We made friends with the people that were hiking near us which was helpful and fun! Most of us were scared on some level so it was nice having encouragement from others to keep going!
Overall, getting to the top of Angels Landing took 30 minutes once we started the second section. Going first thing in the morning helped because there were a lot less people there! This was huge as we didn’t have to stop very often to let people pass who were already on their way back.
The top of Angels Landing
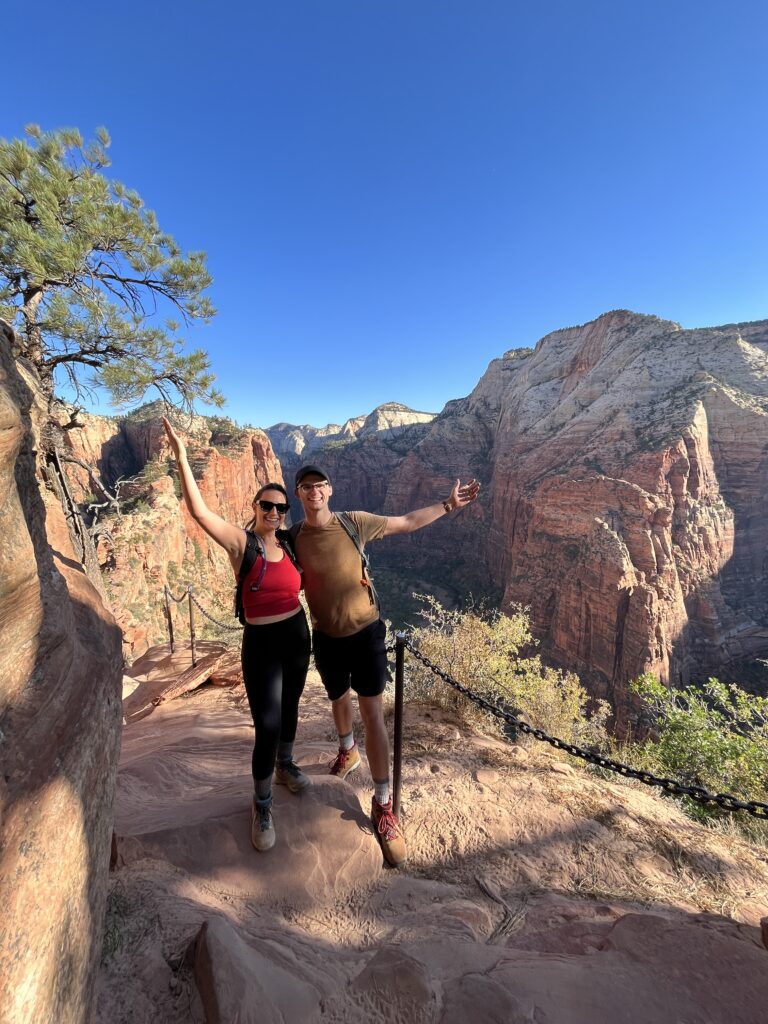
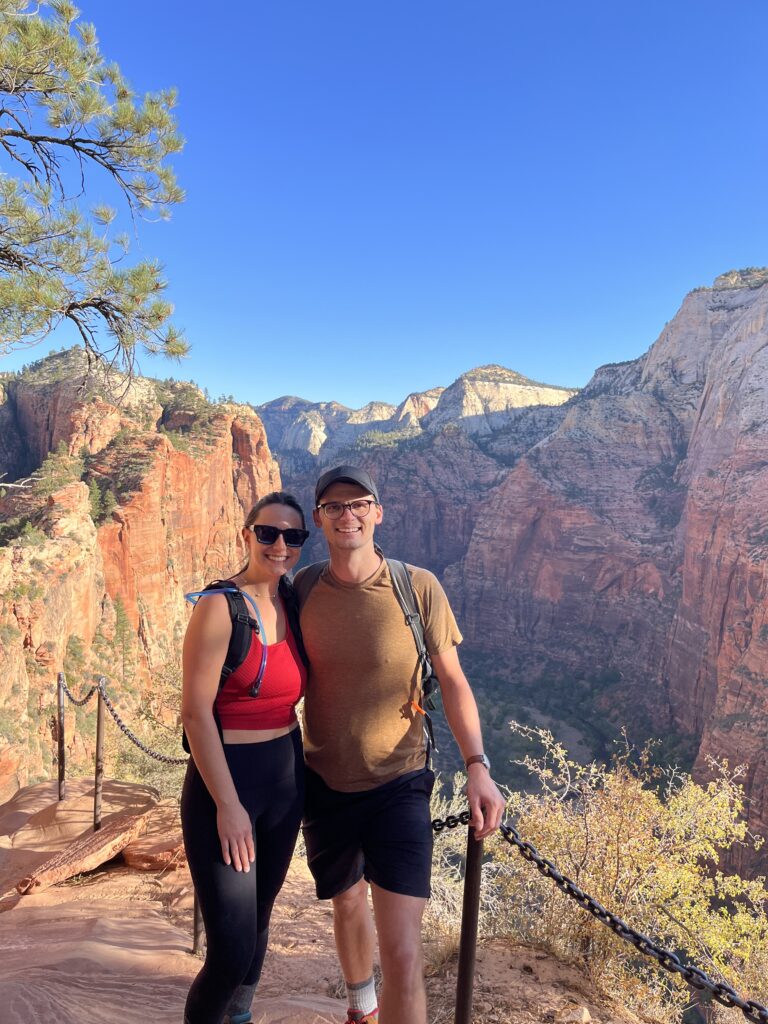
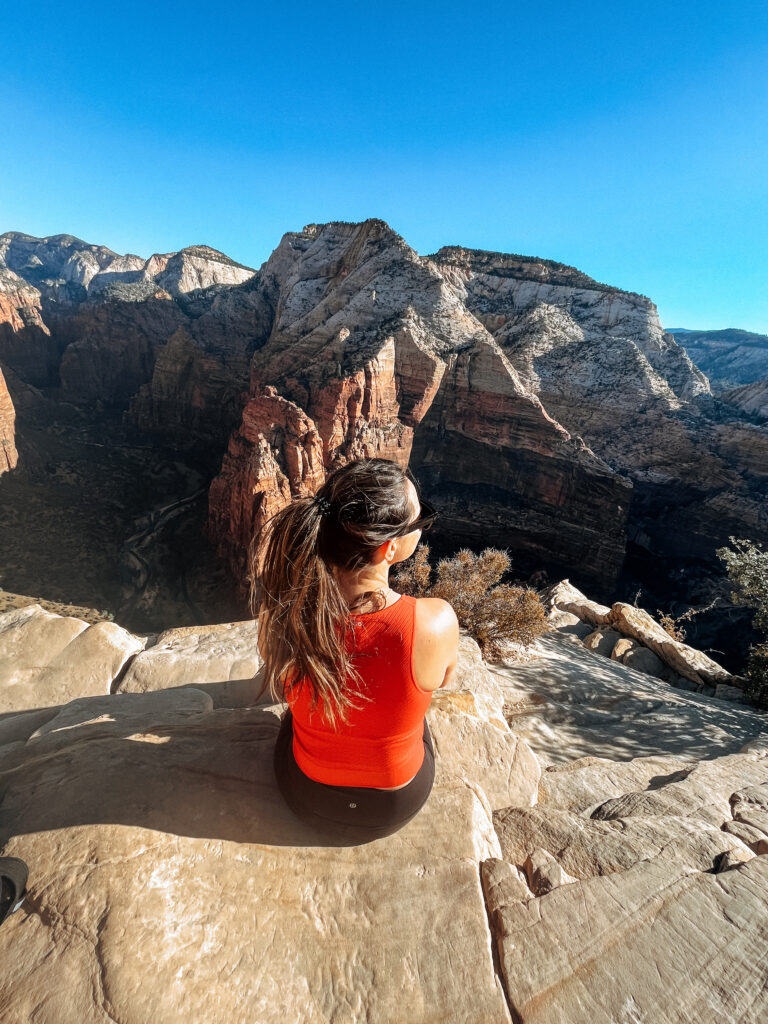
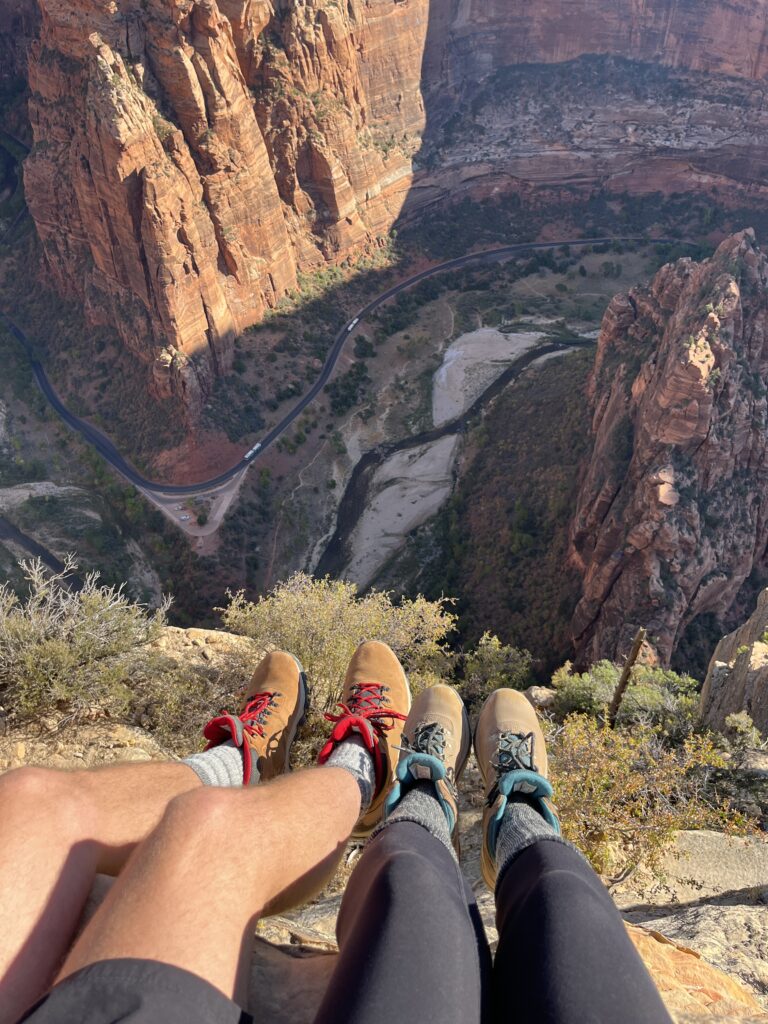
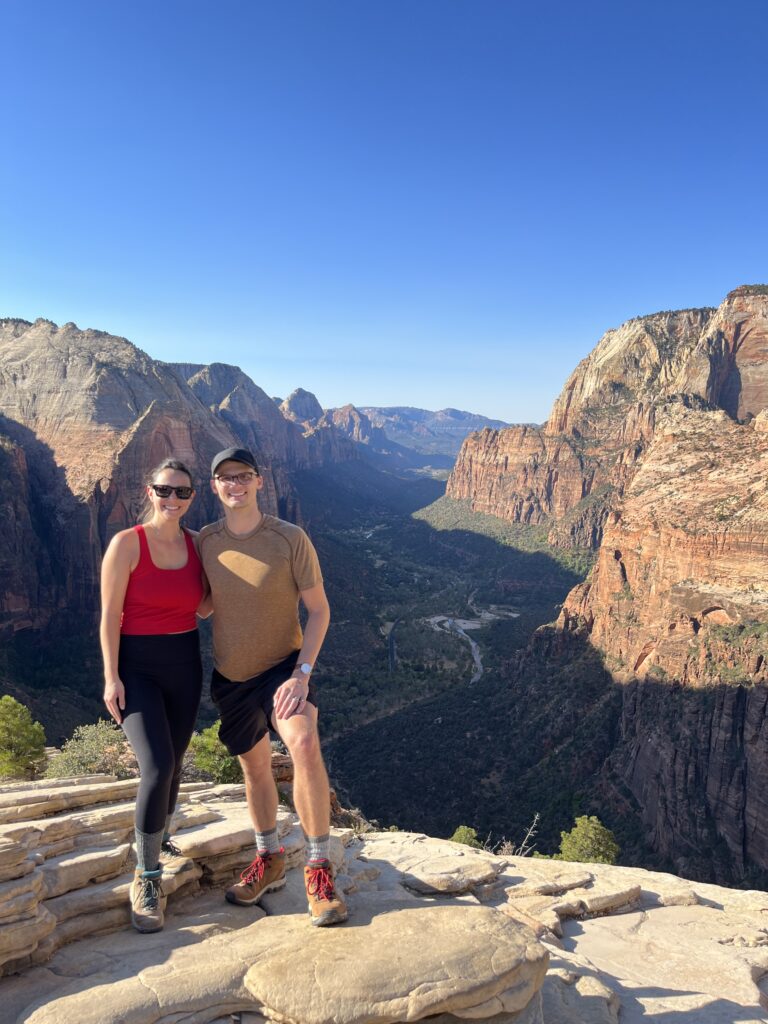
Once you get to the top, I recommend you stay for a little bit. We stayed for about 30 minutes and just took in the view. This was probably my favorite part! You made it past this absolutely incredible hike, take it all in! We took so many photos and videos that we look back on regularly.
We sat up at the top and even over the edge (yes, the edge) and ate a snack! Thankfully it wasn’t too windy that morning so we felt very comfortable staying up there for a decent amount of time.

Hiking Down Angels Landing
Hiking down was a little bit more stressful. It wasn’t any more difficult going down because honestly, you go up and down the entire way. There were a lot of sections going down that I sat and scooted because I felt that I had more traction and balance that way. Do be careful going down because your feet can easily slip if you’re not careful. Again, the chains are there but it is always good to go slow and not rush it.
We started our decent around 10:00 am. The traffic was much heavier going back. Since people arrive at different times, those who got there later were just making their way through the second section. We also were running into the next time slot for permits which began at 11:00 am.
There was a lot of waiting and letting people pass since you can only go one at a time each direction. It still only took us about 35 minutes to get back to the top of the mountain and the entrance to Angels Landing. Then we began the descent down section 1 which took about 45 minutes. Overall, hiking Angels Landing took us about 3 hours total.
It was such a fun and adventurous hike. Most everyone was friendly and extremely encouraging to one another! Once we made it down to the bottom, we took the shuttle back to the parking lot. This shuttle took a little bit longer since it was later in the day. More of the trails had opened by this point and there were a lot more people. The shuttle took about 20 minutes to get back. But we weren’t complaining since it is about a 4 mile walk and we were toast by this point!
What To Know Before Hiking Angels Landing
Best Time Of Year For Hiking Angels Landing
There are so many options for when to hike Angels Landing. We chose October for a few reasons. First, we had a break in my husband’s school schedule and it was a good time for us to make the 8 hour trek up to Zion National Park.
Second, October typically has decent weather. The highest temperature we had that weekend was 87 which was much warmer than we anticipated. After hiking it, I definitely think hiking in the summer could be difficult because of the heat. However, that is when most people do it because of summer break! I would personally recommend the spring or the fall. Zion National park does get snow in the winter so I’m not sure how that can affect the trail if they keep it open during that time of year.
Permits for Hiking Angels Landing
Every person is required to have a permit to hike Angels Landing. They implemented this after monitoring the traffic before and after covid. The permit system can be annoying but I will tell you, it is for safety and it is important. You can get your permits on this website.
As I said before, anyone can hike the first section of the trail which takes you to the top of the mountain and the base of the section that extrudes farther out which is Angels Landing. They will not let you through if you don’t have a permit. As we got back from the top of Angels Landing, we heard a couple arguing with the park rangers because they didn’t have a permit and couldn’t go through. Don’t do that to yourself!
They issue permits using the lottery system. You apply the day before your planned hike. Then, you enter your two preferred time slots out of 3 options. If you get approved for a permit, they will tell you what time slot you received. This is when you can start hiking Angels Landing which is the second section of the hike. We got permits for the 9:00 time slot which is the earliest option. We started the hike of the first section early so that we reached the permit section right at 9:00.
Since they can only let so many people through a day, you need to be prepared to not get a permit. I recommend having two days set aside for the hike just in case. I’m not sure how many people, if any, are turned away. But, it is important to be prepared just in case.
What Gear Do I Need For Hiking Angels Landing?
I would say the most important things to have are hiking boots, a water pack and a backpack for anything else you take. The trail can get very steep and there are sections that require a little bit of very amateur rock climbing. It is important to have stability around your ankles as well as shoes that are built for strenuous work such as hiking.
We have very basic hiking boots from Amazon and have used these for 2 years now. They have held up extremely well and I am thoroughly impressed! We also never go on a hike without our camelback. It is a backpack with a built-in bladder that holds 2 liters of water. It has an easily accessible hose to drink out of as you hike. I would highly recommend one of these because it will last you a good amount of time on your hike!
I also recommend taking a hiking backpack. We took snacks and were able to stuff our sweatshirts in this once it got hotter throughout the hike. There was also room to pack our polaroid camera which was so much fun to have at the top for photos! We love our backpack because it easily folds down and can be stuffed into a suitcase or bag for travel. It’s not very bulky and is meant to get dirty and be outside in the elements!
After Hiking Angels Landing
Having now done the hike, I truly think anyone can do it. We saw so many people of all ages, sizes and abilities. It just goes to show that you don’t have to be a very experienced hiker to accomplish this hike! Research before hand, read people’s experiences and tips, and go with a positive attitude!
If you are nervous, do it. As someone who almost chickened out at the very last minute, I am forever grateful that I didn’t. And, I would go back and do it again in a heartbeat! You will feel so proud of yourself and will push yourself out of your comfort zone in the best possible way. If you are considering hiking Angels Landing, do it!


Nice share!